PS exquisite badge production need not worry
Perhaps beginners of PS apprentices have tried to make designs for things like a drop of water, a balloon, or an apple. Often it's confusing why do we draw an apple instead of taking an apple in a picture and picking it out? My answer is that there is no shortcut to learning. A faster approach can certainly do the same, but it brings far less than you have to draw an apple with your heart.
Weixin technology has been focusing on various badge customization for many years. Today, Wei Xin craft takes you to make crystal shaped badge. It is a imitating feeling. You should constantly think about the relationship between high light and shadow and the state of the object during the learning process. This is the content of art class, but when you are proficient in operating PS, It also requires such basic knowledge to enhance your design.
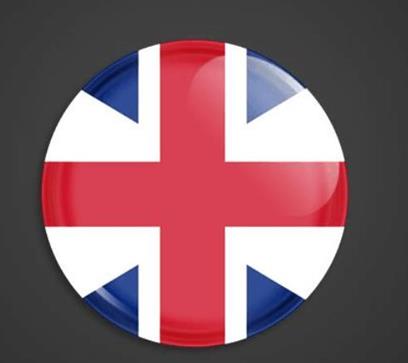
1. New file
Open PS, create a new file (w: 800px, h: 600px), fill the background color with dark gray, and then fill the background with a radial gradient slightly to make the center look "brighter". Add a circle to the background layer. This is the button body. The round color with everyone like, I choose green.
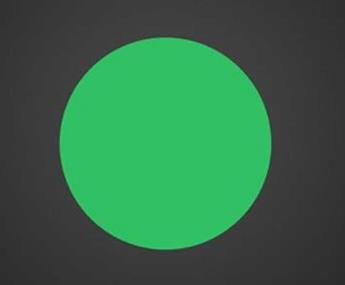
2. Layer styles
Next, we'll use the layer style for the button's body. The use of layer style depends on continuous attempts, and each application should be regarded as one-time accumulation, so as to better understand and master
It is. So what styles do we use today?
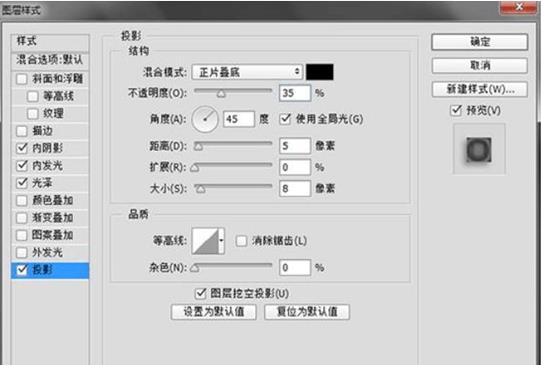
Because we want to make the buttons stereo, we can try to use the inner shadow. In this process, you must have a piece of work in your brain to achieve the effect you want to achieve, in your constant debugging, you may gradually approach your goal.
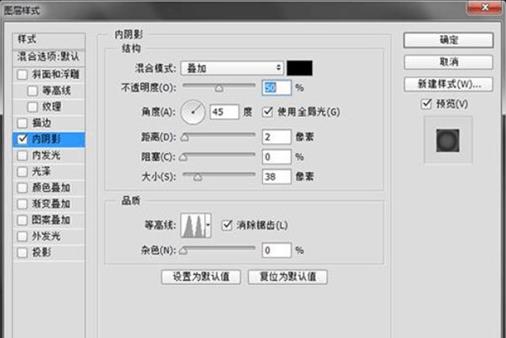
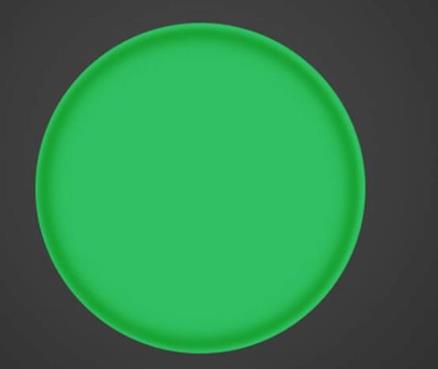
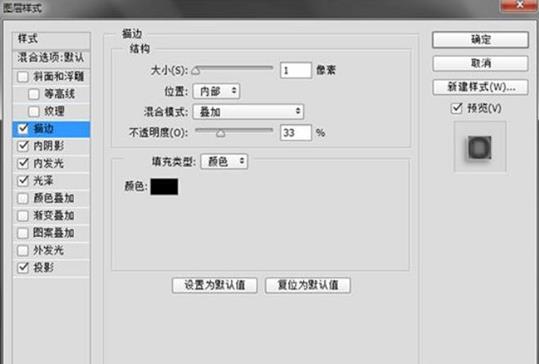
This is my panel value, and the layer effect under that value.
I want to use interior glow to give it a crystal luster on its edge.
Use the glossy layer style to make it more glossy.
Look at the above. It's close to what I want. Next, add a little projection and edge drawing to the button.
3. Add highlights details
4. In order to make the button look more stereo, it is not enough to use the layer style. At this point, we also need to "manually" add the corresponding shadow and highlight effect to him. In all the drawing process, when you want an object to become more stereoscopic and realistic, the best way to do this is to add highlights and shadows to it.
Create a new layer, then use the ellipse box selection tool, pull an ellipse above the button, and then use the gradient tool. The gradient settings are as follows:
Then fill the selection with gradient, which is linear, from top to bottom. The effect after filling is as follows:
Turn the ellipse to the top right corner, where we select it as the highlight part.
At this point, I want to add another layer of highlight on the basis of highlights. First, copy the highlight layer to a layer, then press and hold down the CTRL key and click the button to select the layer of the body of the button. The purpose is to call up the circle selection and prepare for the next step.
Keep the circle selection, control the selection by the left and the down keys on the copied highlight layer, move to the position shown in the following figure, and then click delete.
After clicking delete, this is the "Crescent" we expect. It looks too flat. At this time, you can add a layer mask to it, and select black and white gradient to pull out a radial gradient at the right position in the mask.
The highlight in the upper right corner is done:
Then, one layer is copied for the crescent, and the replica layer is rotated to another direction opposite the corner.
Because we need to make many crystal buttons with many designs, we just need to reduce the fill of that layer of the button body to 0. It's really simple, isn't it!
Transparency is often used in design, but rarely filled. In fact, in most cases, filling and transparency are the same. Only when you set the layer transparency to 0, the layer is completely transparent, on the contrary, if you set the layer fill to 0, the layer is still visible. This is good for us to make crystal buttons, which help us remove the color and keep all the other details we add to the buttons. Now what we have to do is just place the corresponding pattern under the button body layer.
Load the circle selection again, and delete the extra pixels in the pattern. This is the first button to be made.
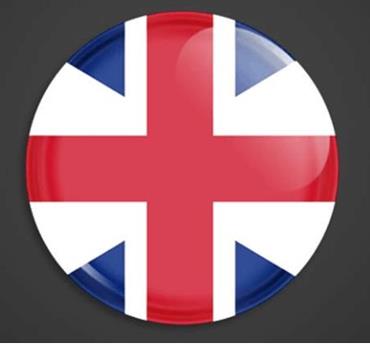
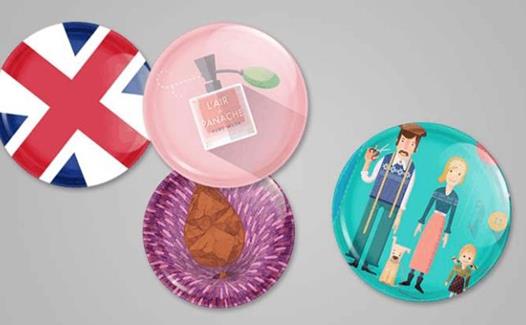
Next I went on to make crystal buttons of all kinds with other patterns.
Recommended News
Five outstanding features of the paint Badge2021/5/17
Digital micro chapter customization is more suitable for learners in the network learning environment2021/3/26
The legend of Uncle Kurban's badge!2021/4/7
China's goodwill to repair Sino US relations depends on the sincerity of the United States?2020/12/17


